Began the golf club racks this morning with a trip to Menards for wood. These racks will support the clubs I restored for David a few months ago. Two racks will be made to mount on a wall. Each rack will have three slots for the three clubs.
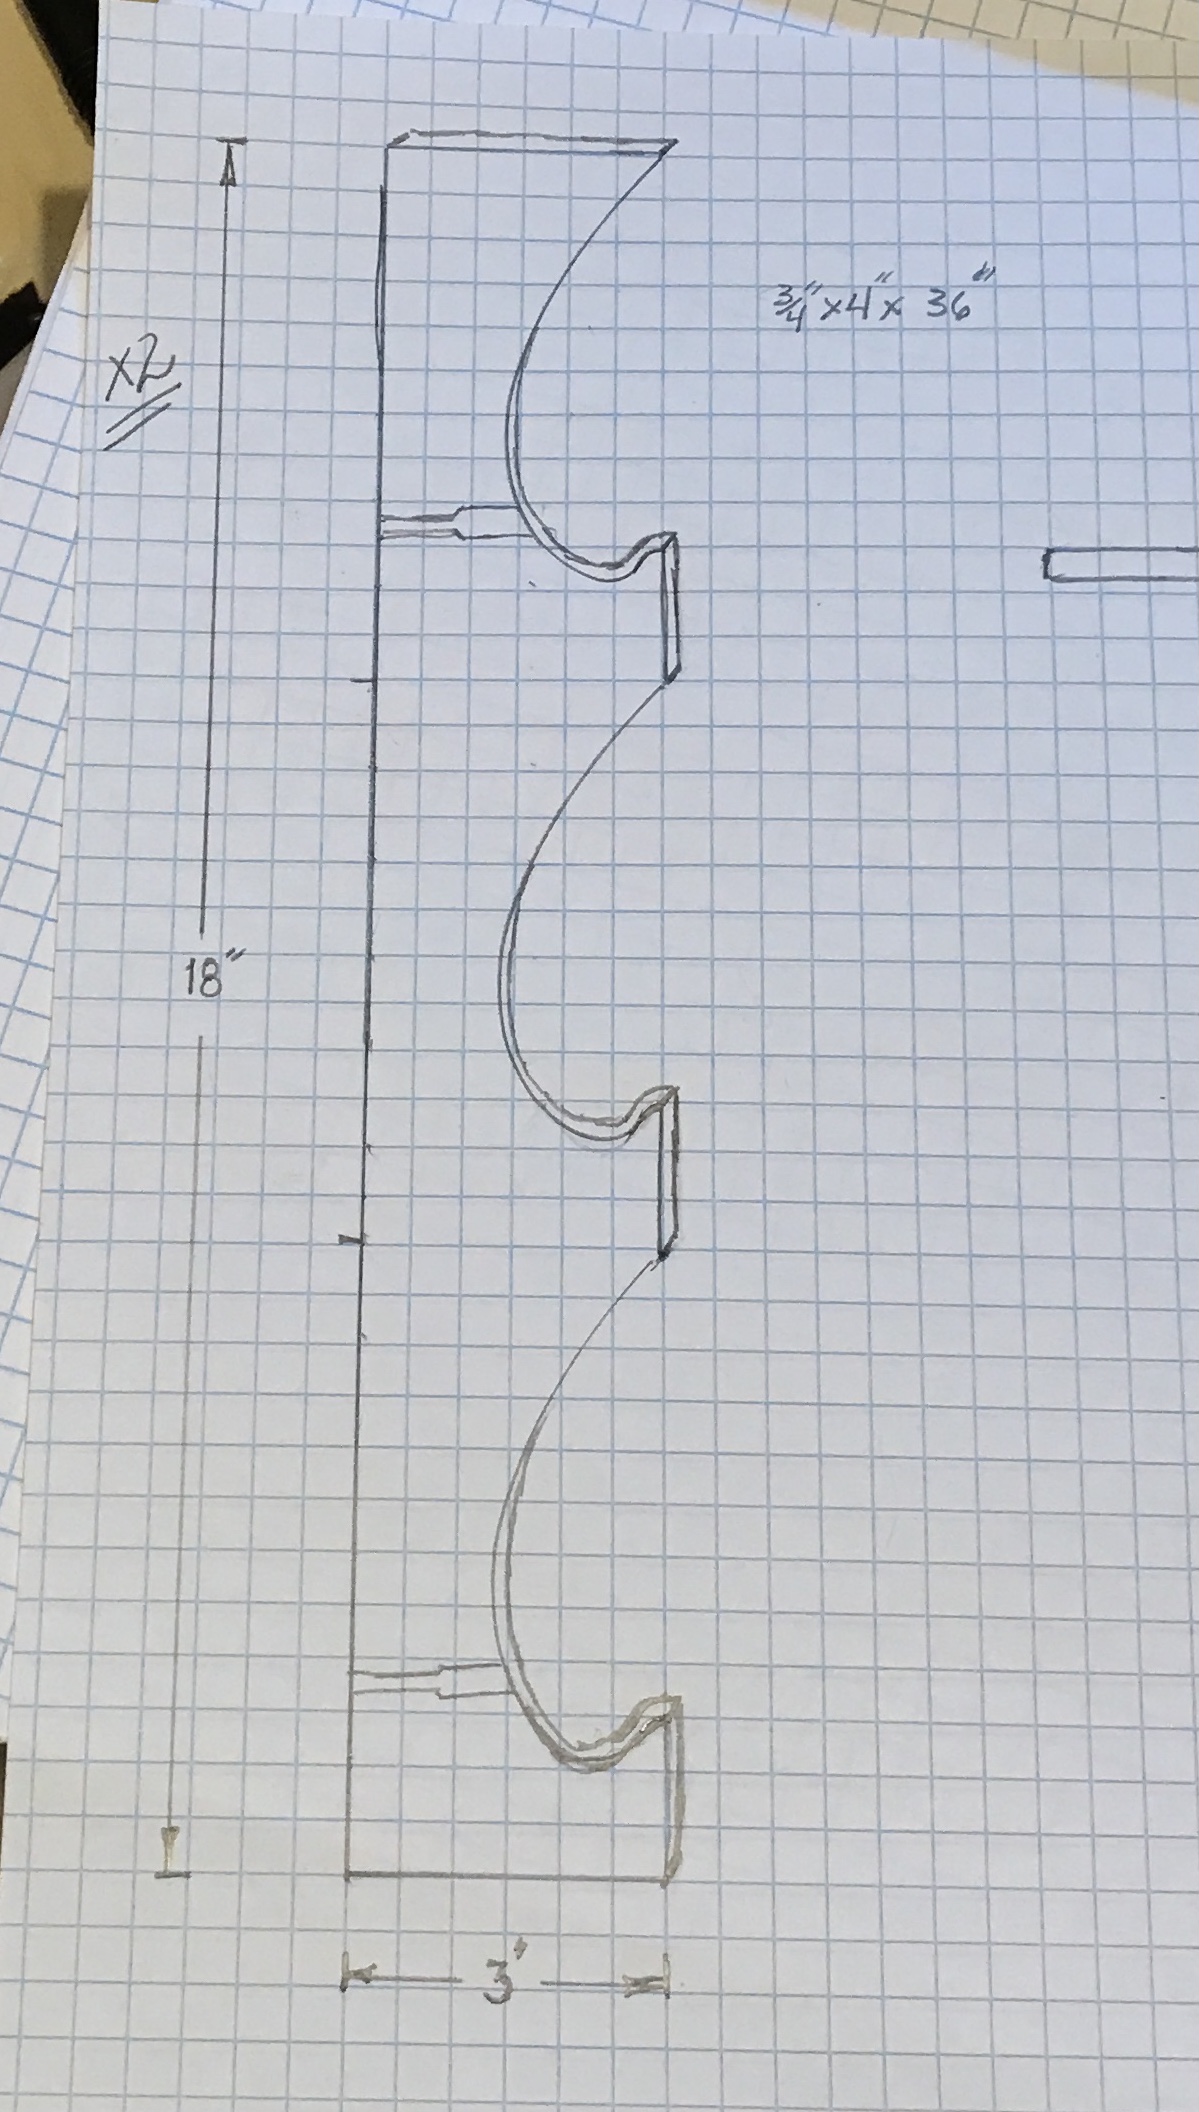
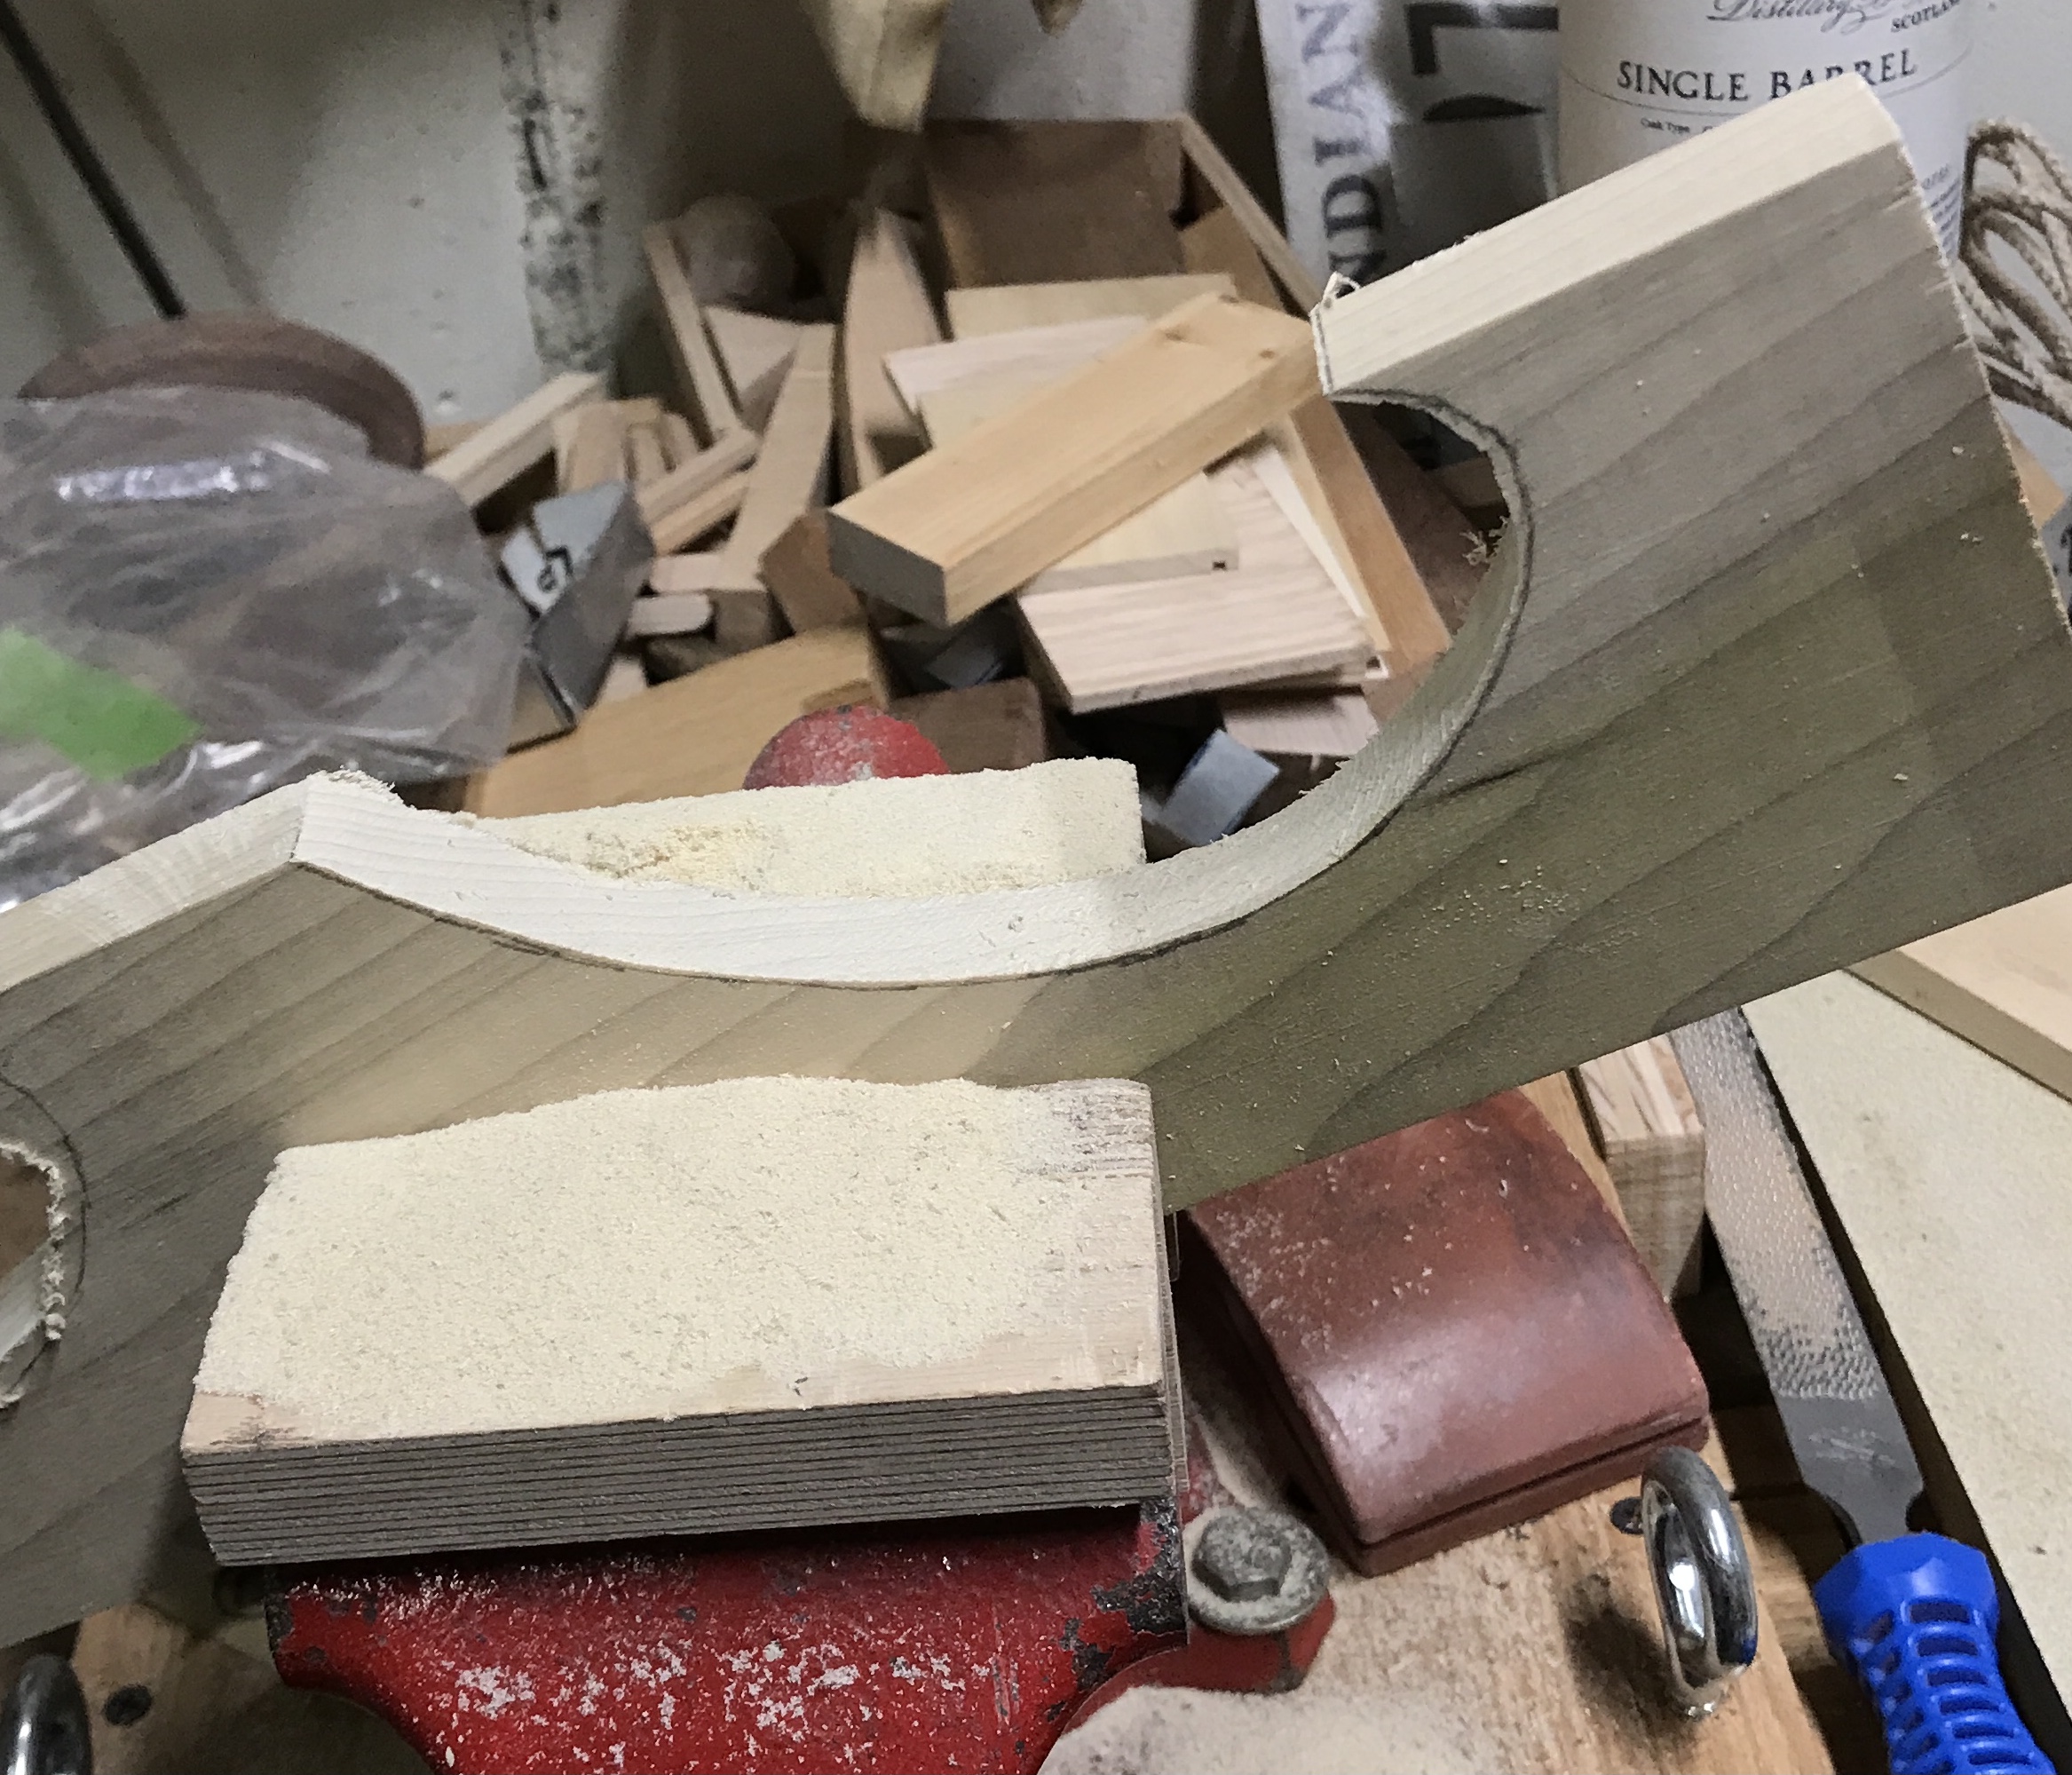
A 1" X 4" X 48" poplar board was purchased. It was cut in half and the two halves were cut to the same length, 23 7/8". One of the bent metal tensegrity table supports was used to mark a curve on one board. A template was made from this curve and copied to the other locations, the other side, and the other board. The curves were roughly cut out with the saber saw.
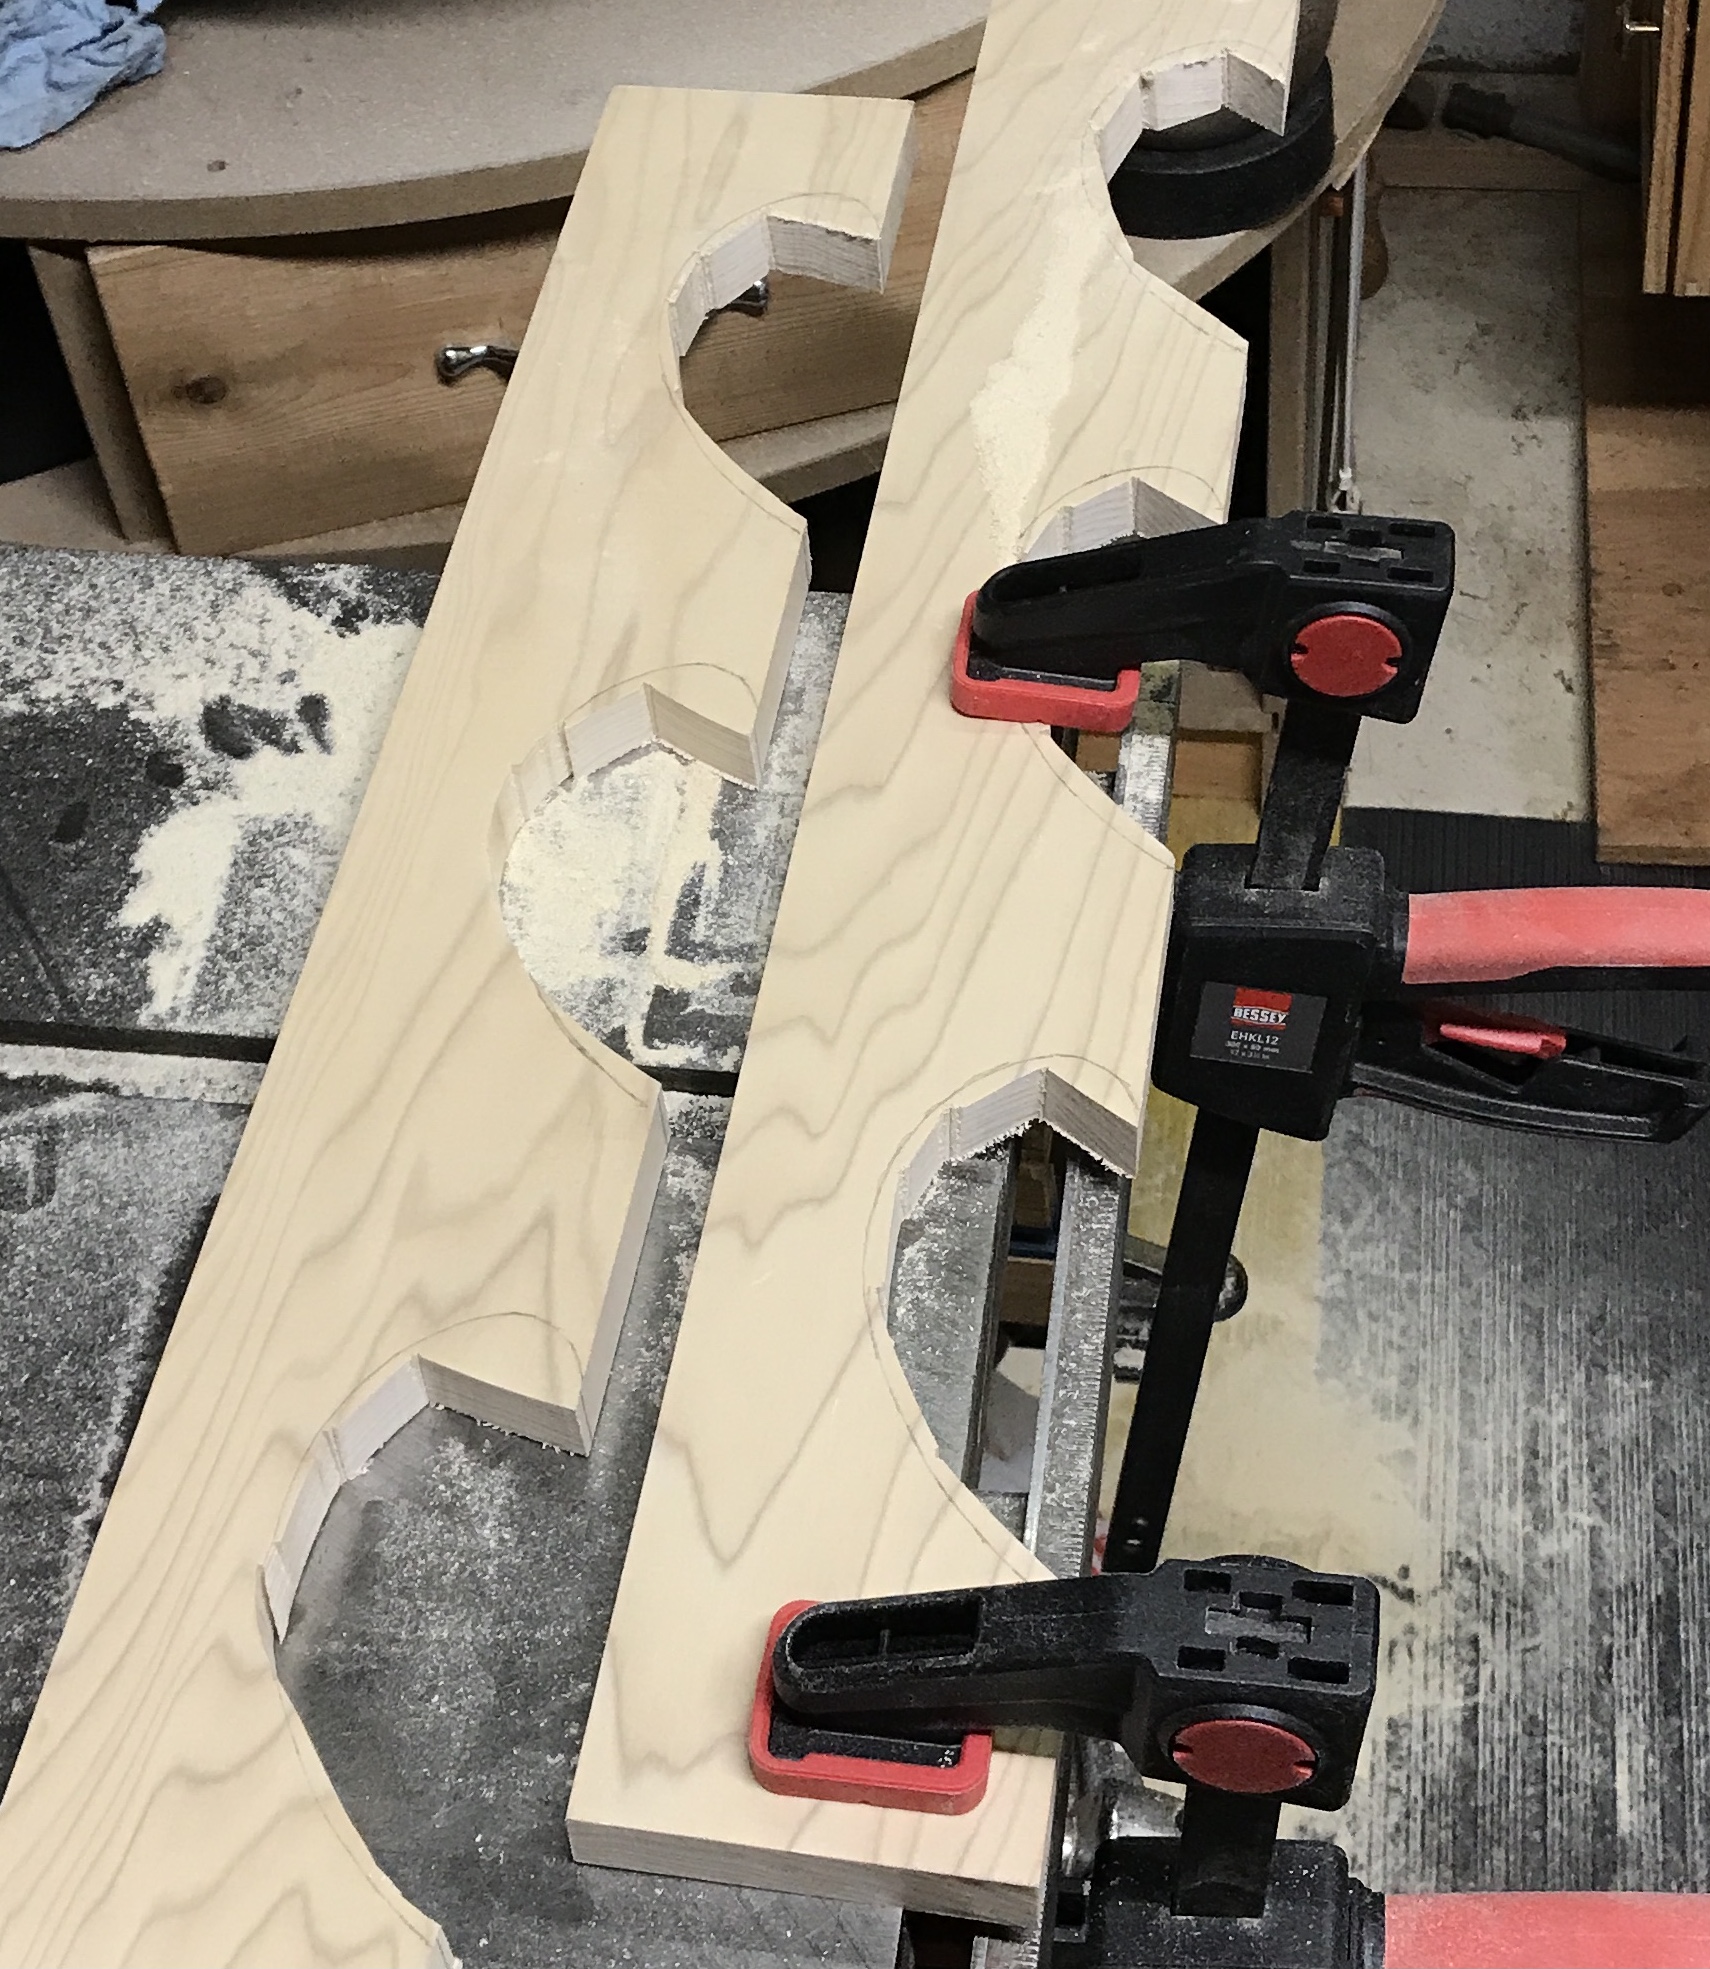
For some reason, unbeknownst to me, the saber saw gave me a lot of grief. It refused to make even the slightest of turns without jamming up. Straight cuts went fine. The blade was very sharp and gave a smooth cut.
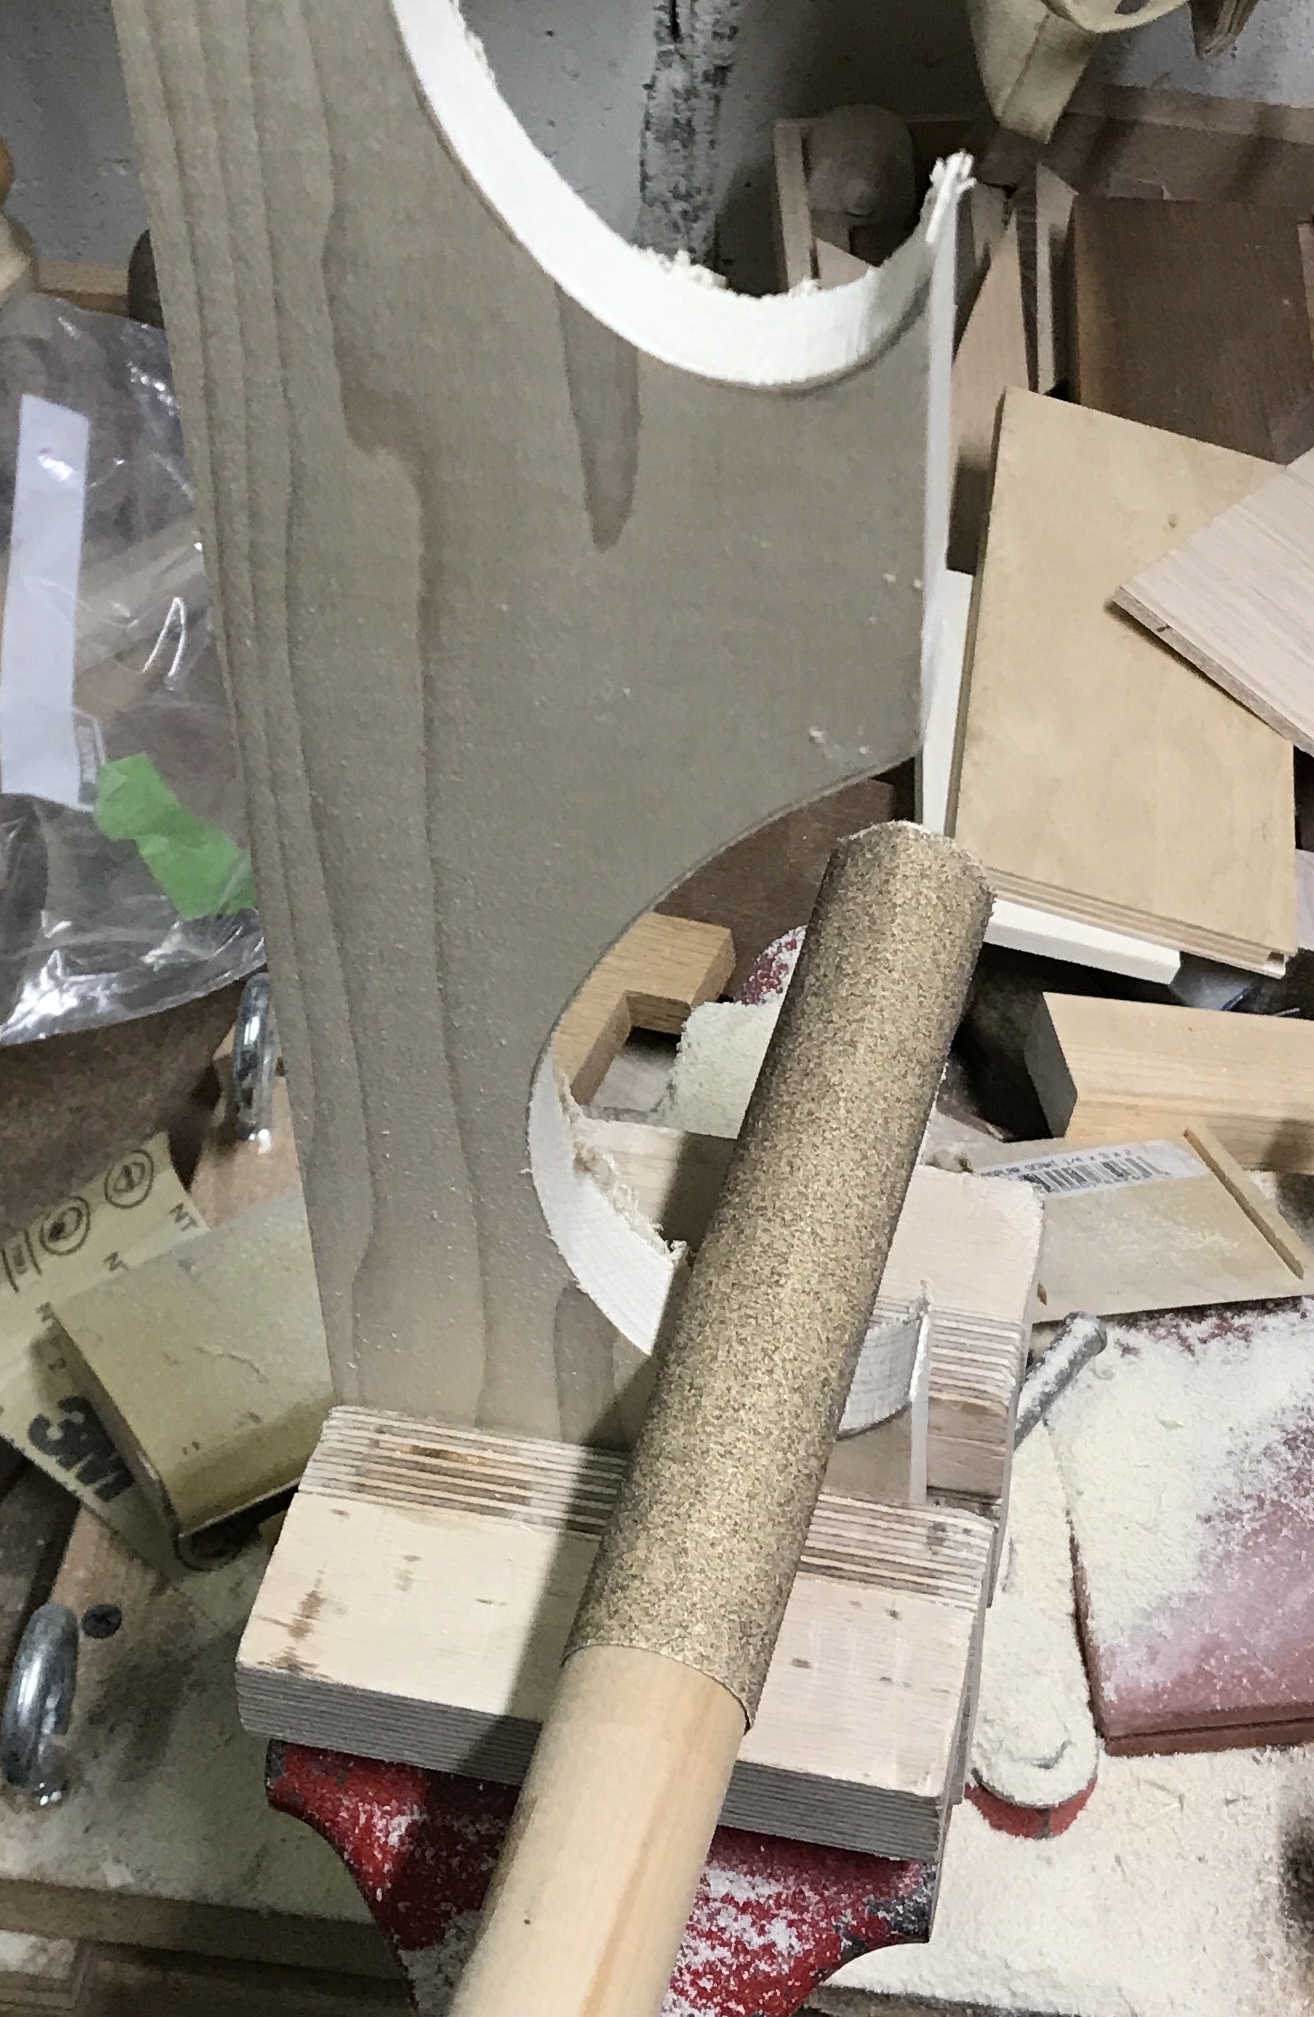
The next chore was using the rasp to cut the wood to the line. This proceeded quickly and all six arcs were shaped to the line. A 1" wooden dowel wrapped with 80 grit sandpaper was used to remove the rasp marks. A lot of sanding was required to get rid of the rasp marks. The same 80 grit paper was used to round over all of the edges on the front and sides of the racks.

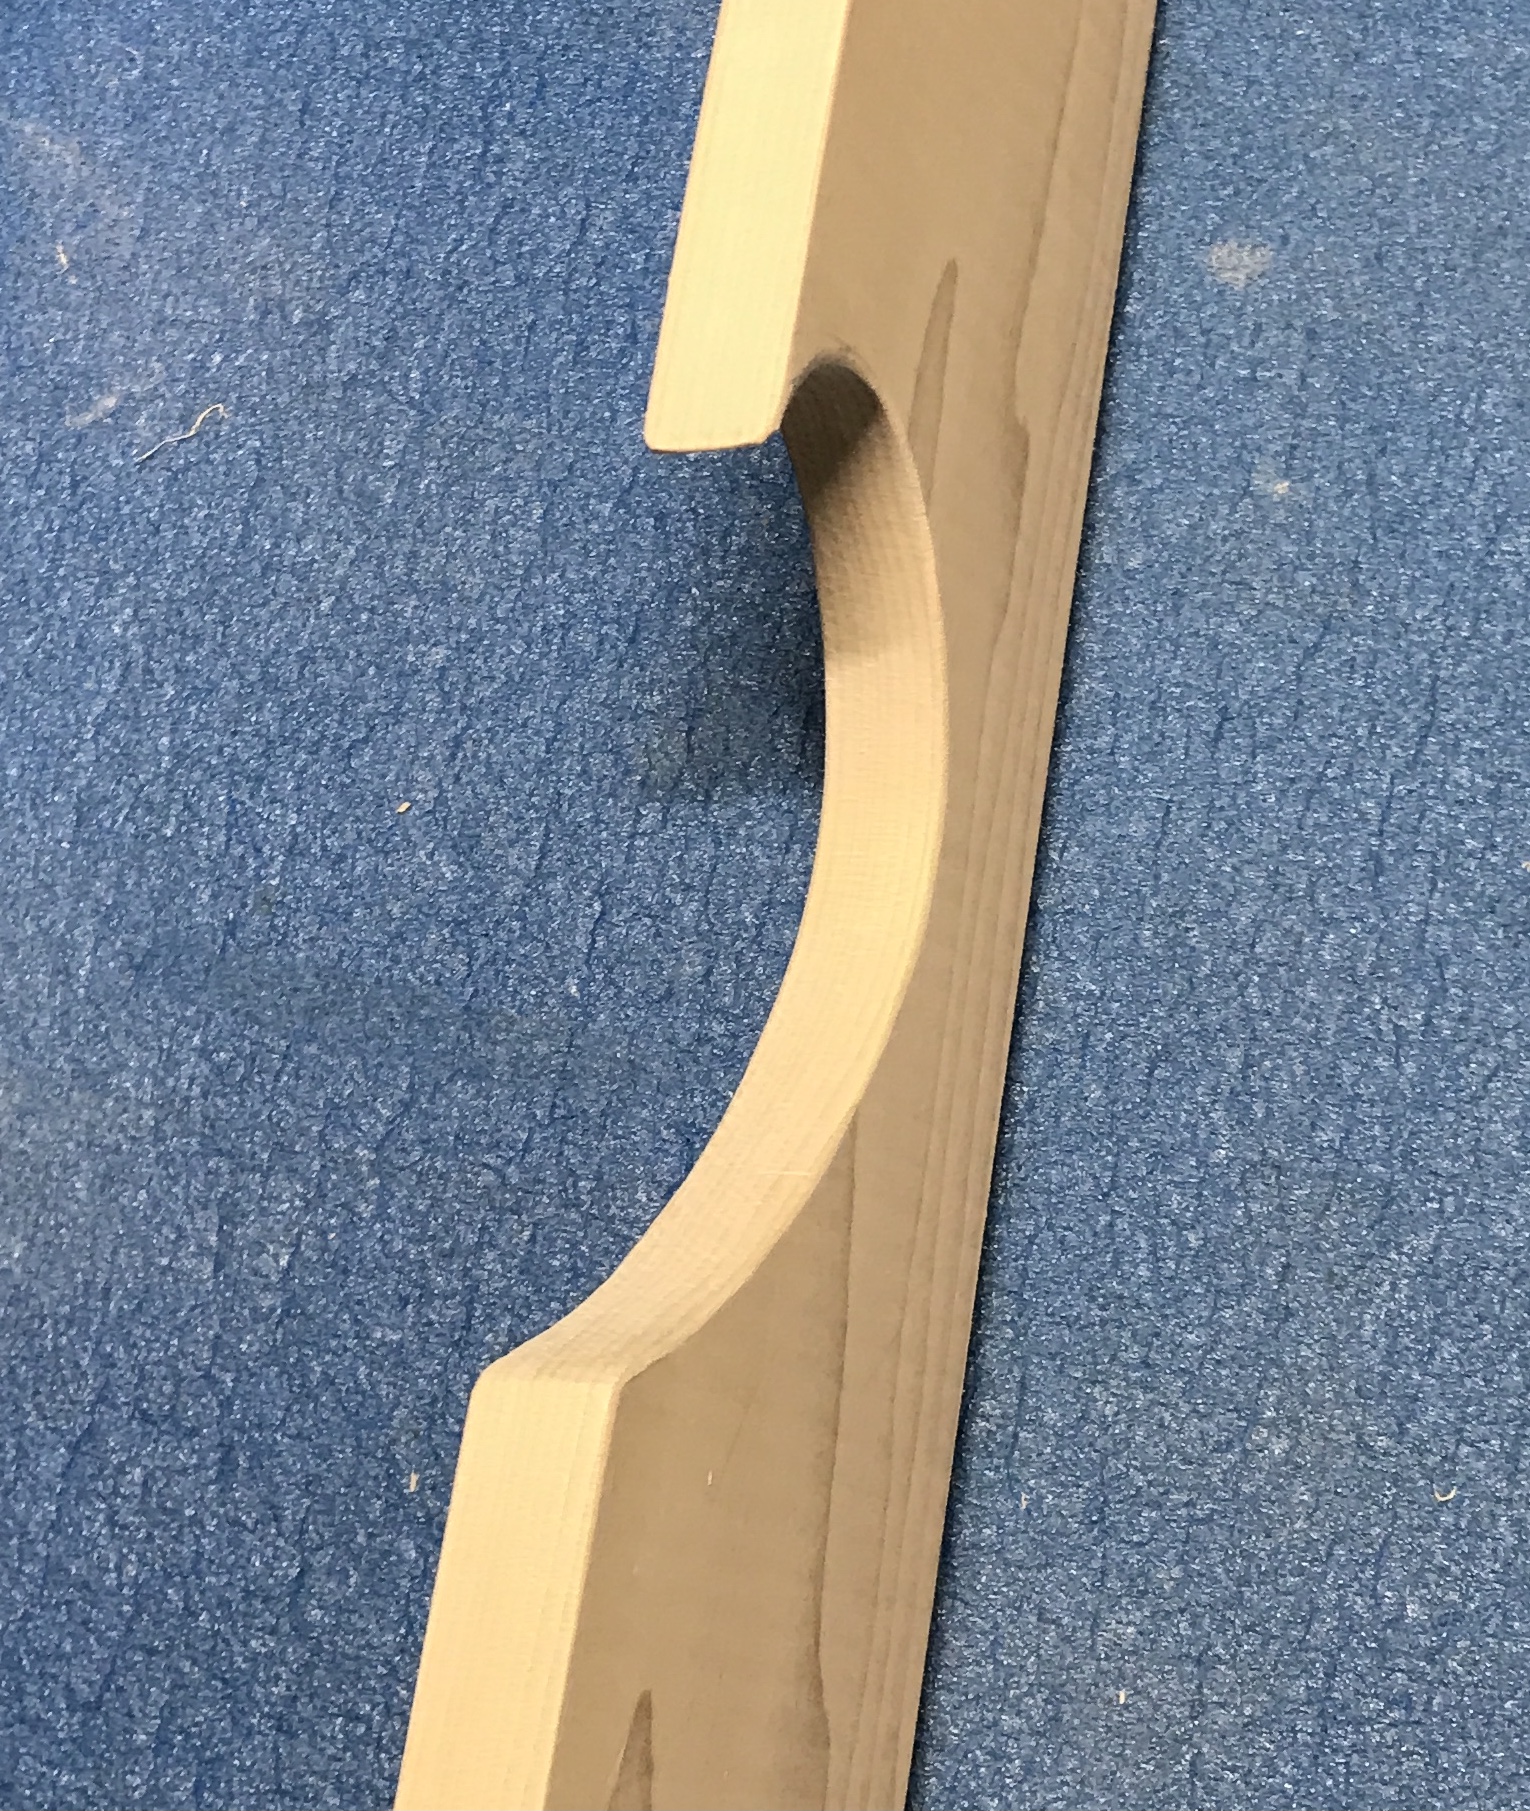
There were only a few places that experienced tearout. One had the piece of wood still attached and was glued. The other four spots were repaired with wood filler. All of the repairs were sanded with 80 grit paper until flush. All faces of both racks were sanded with 150 and 220 grit sandpaper. The photo below shows the racks at this stage.
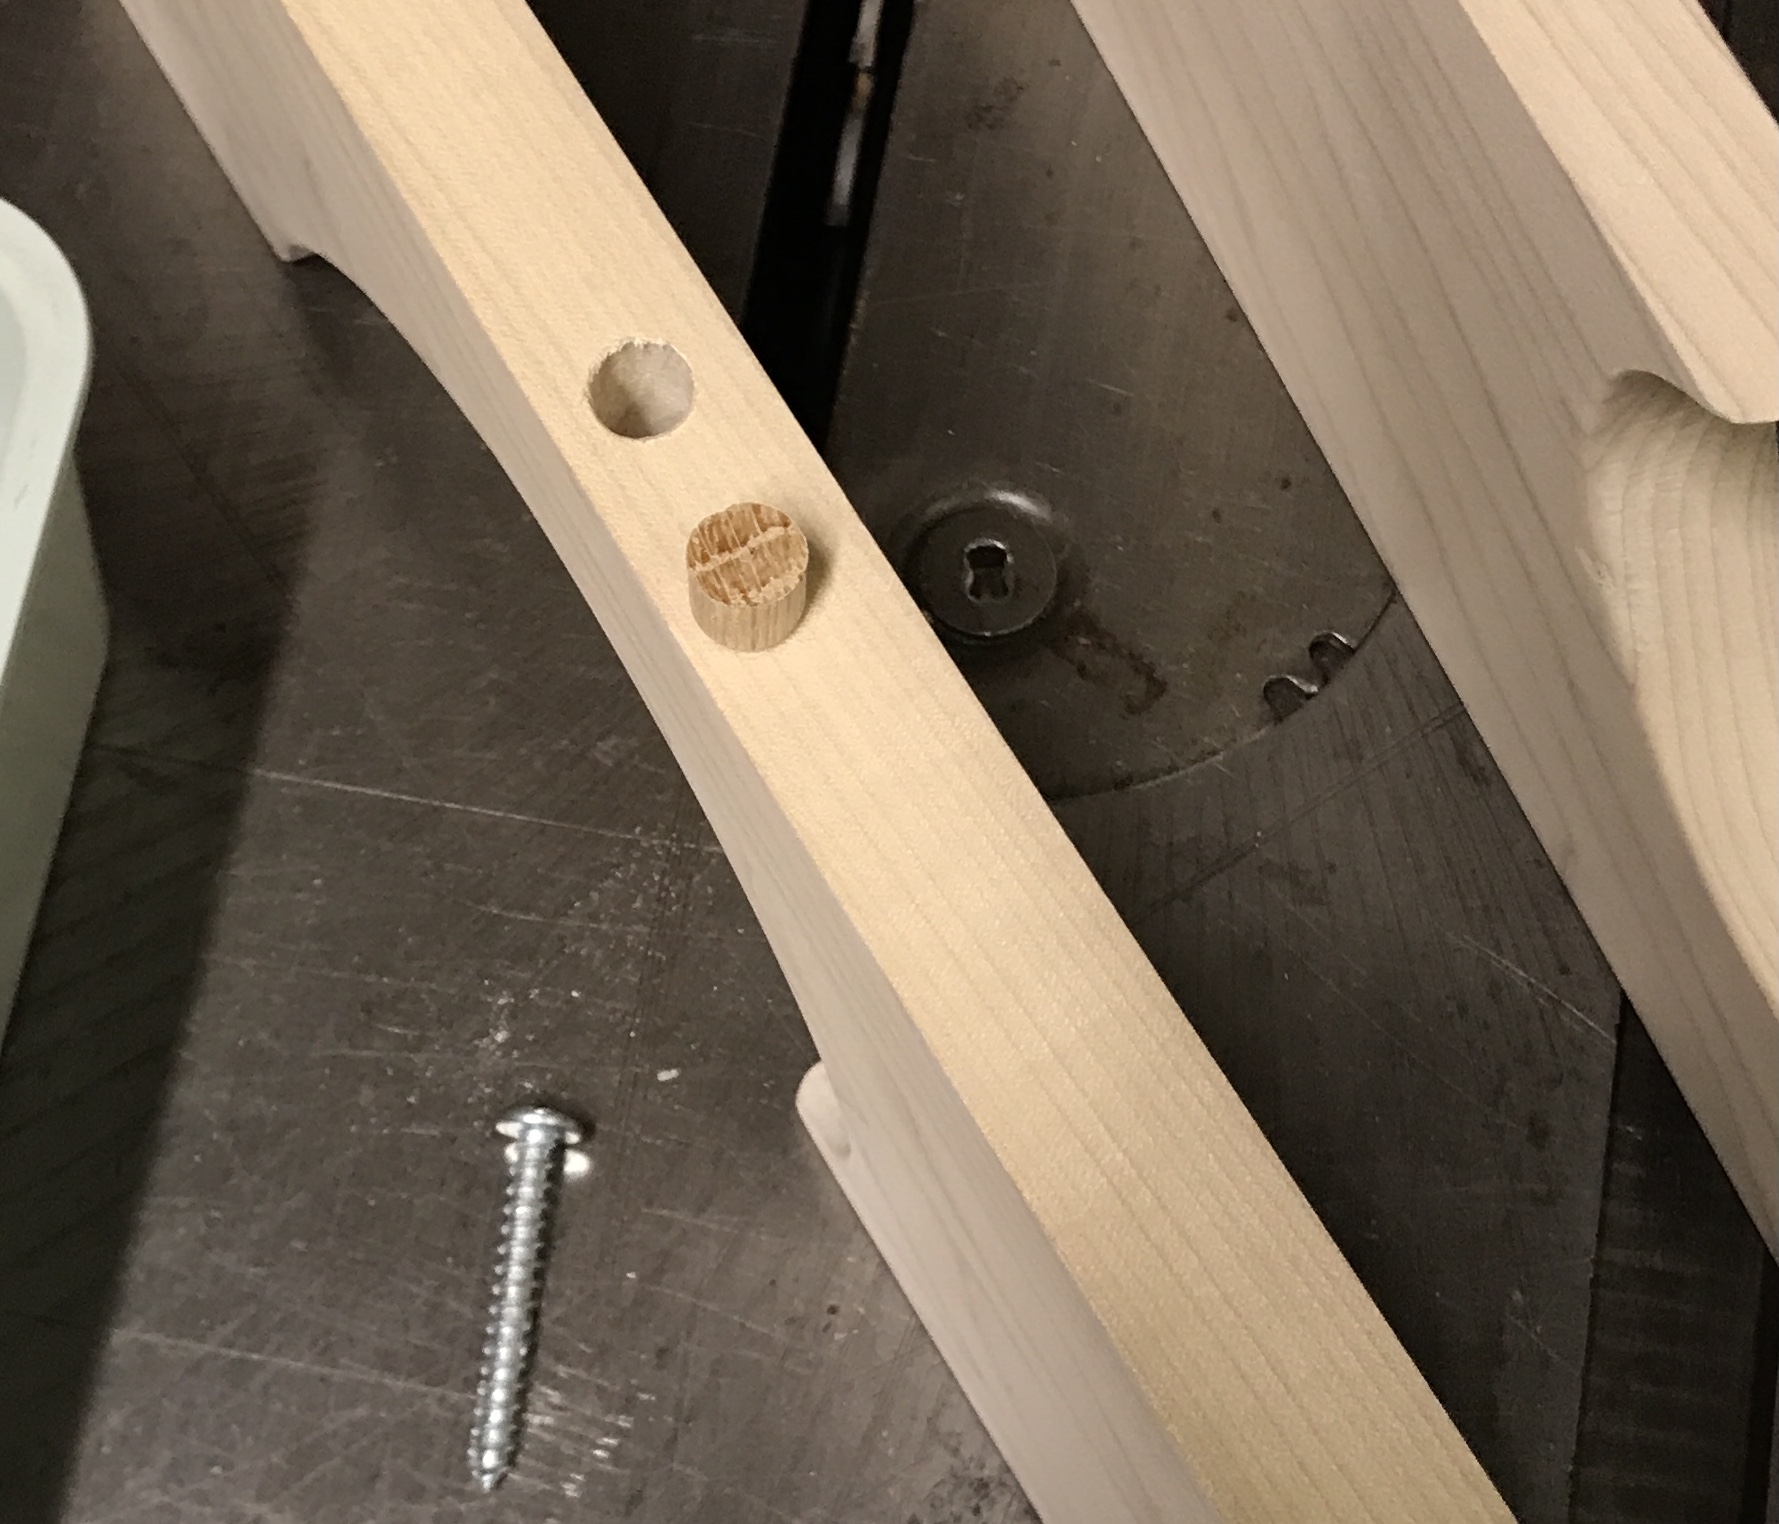
The holes for mounting were marked out and drilled. They were drilled through with a 7/32" drill bit. They were then counterbored with a 25/64" drill so the 3/8" head would sit deep in the rack. Unfortunately, one hole was drilled through with the large drill. A 25/64" plug was quickly made. Glue was placed in the hole bottom and the plug was pushed through from the top. After drying the plug was drilled through for the screw. The photo shows the plug and the offending hole.
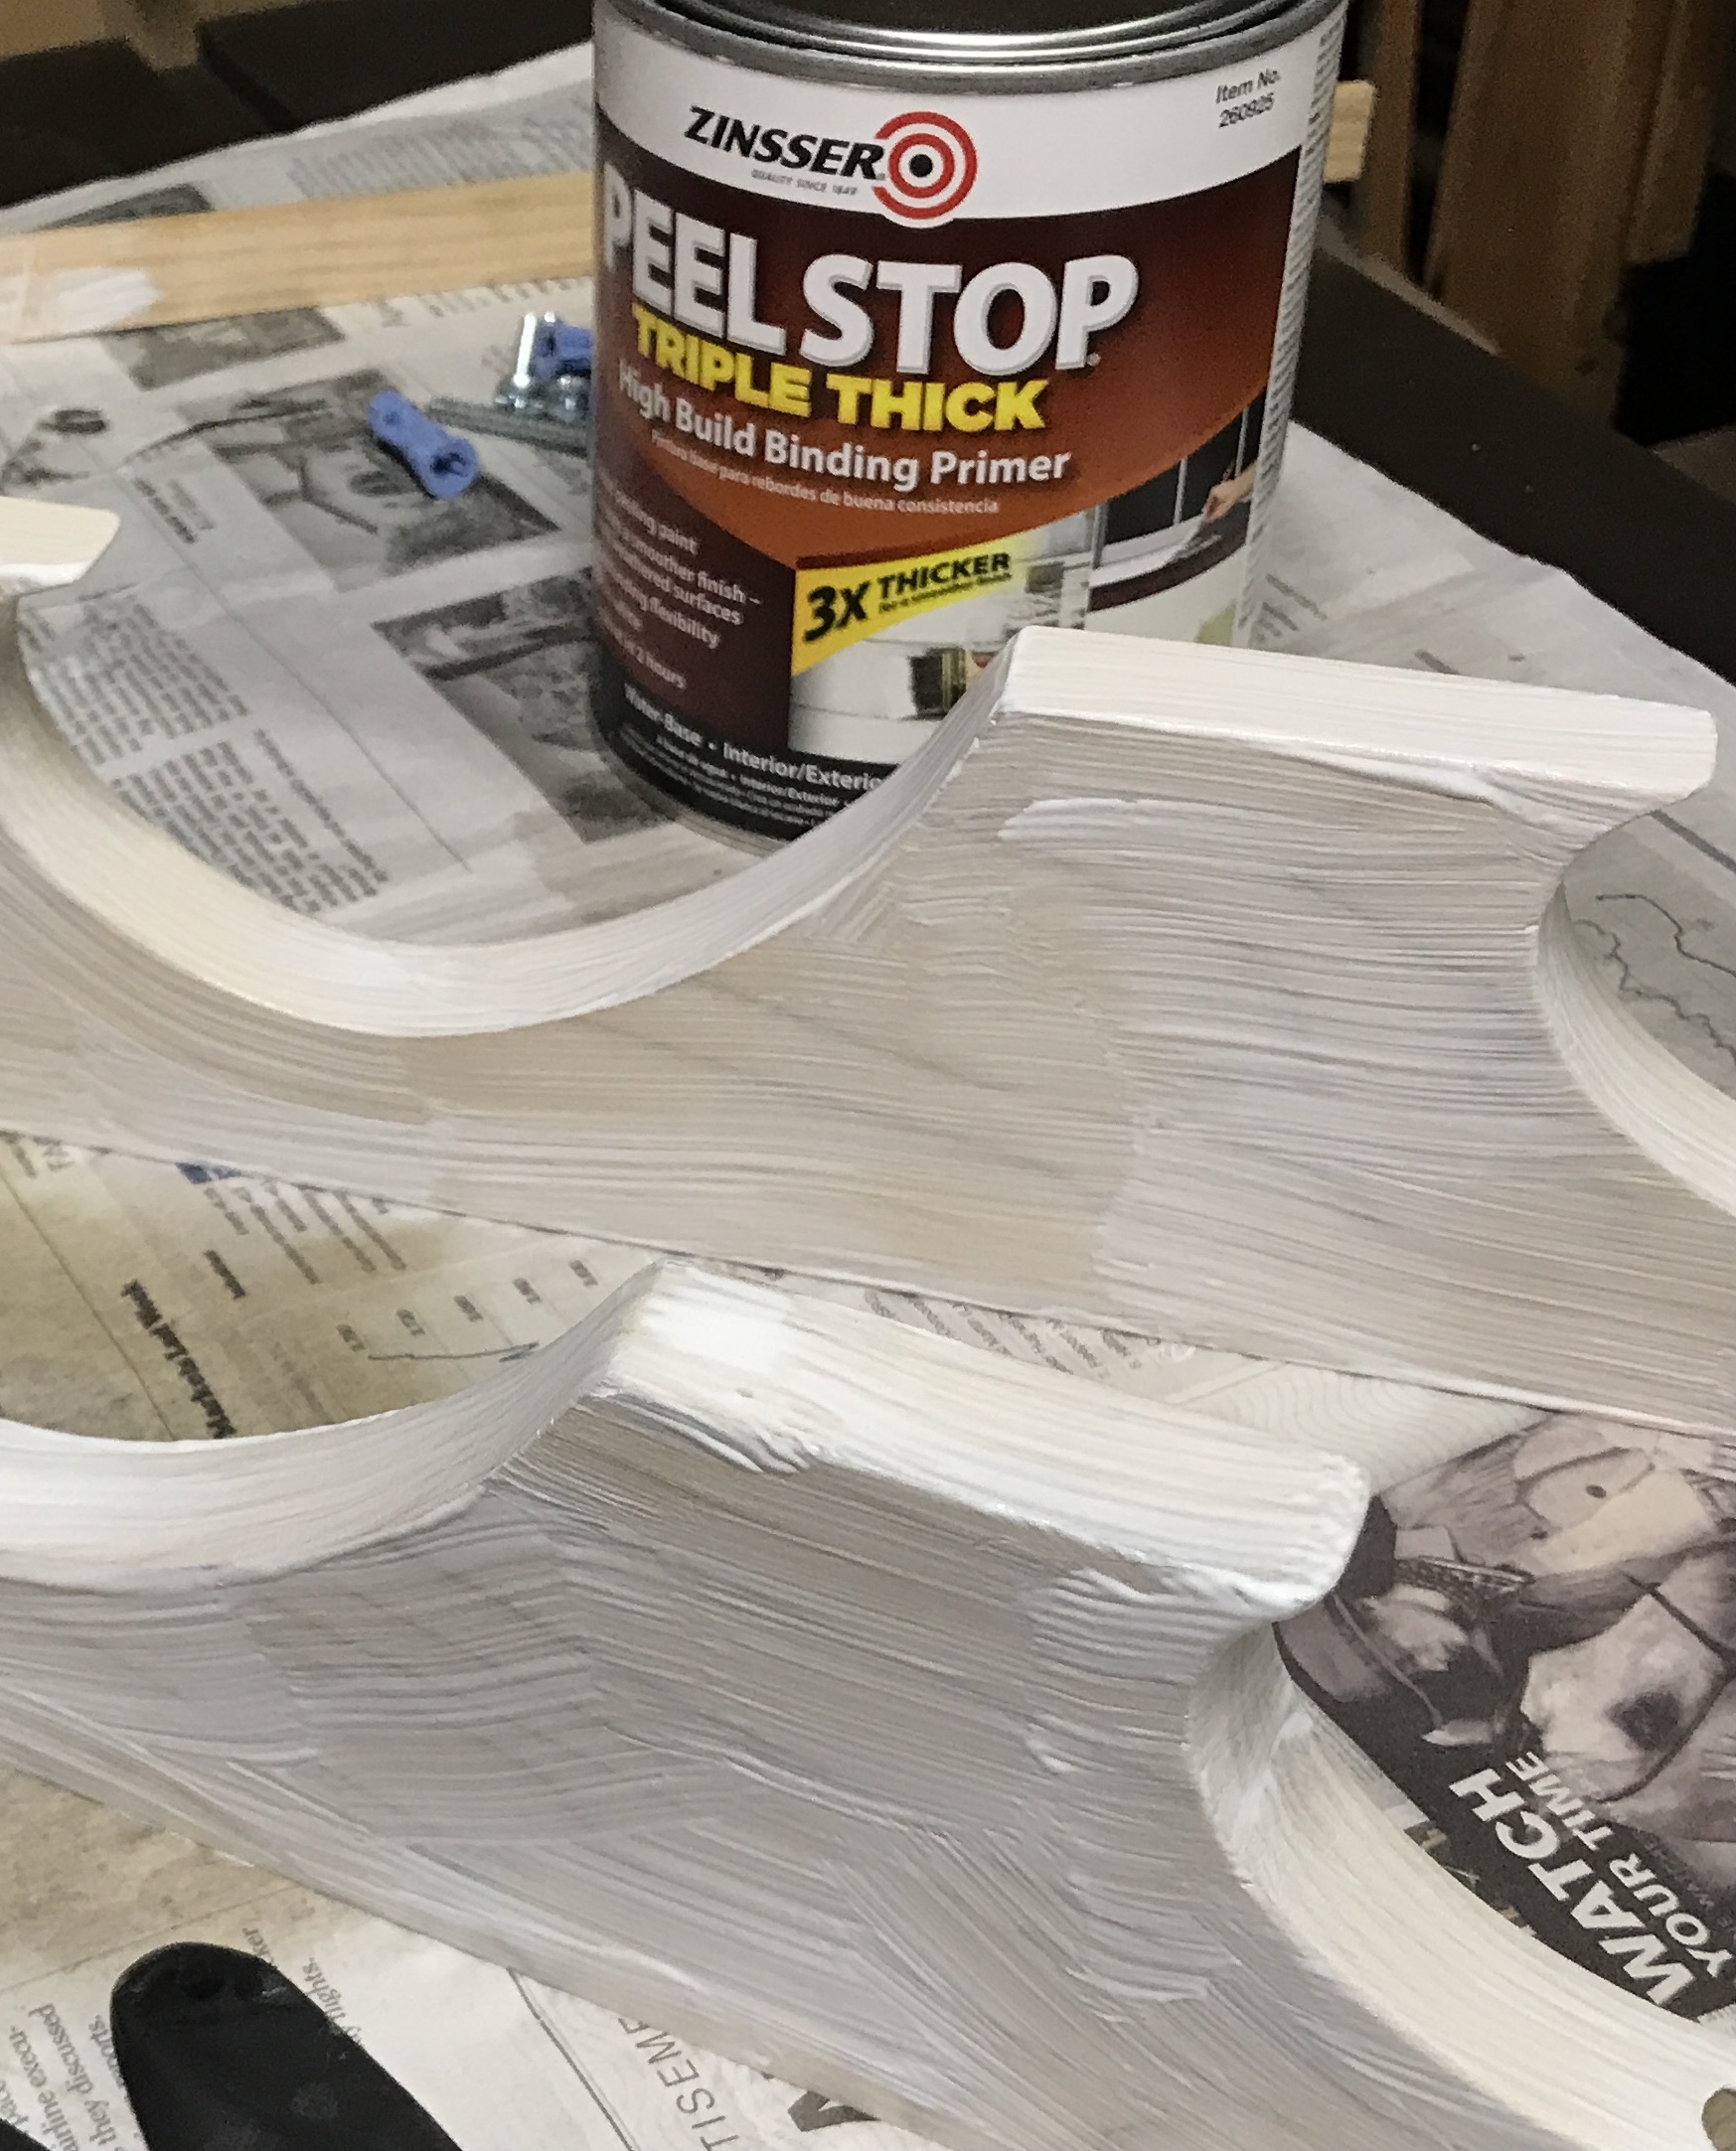
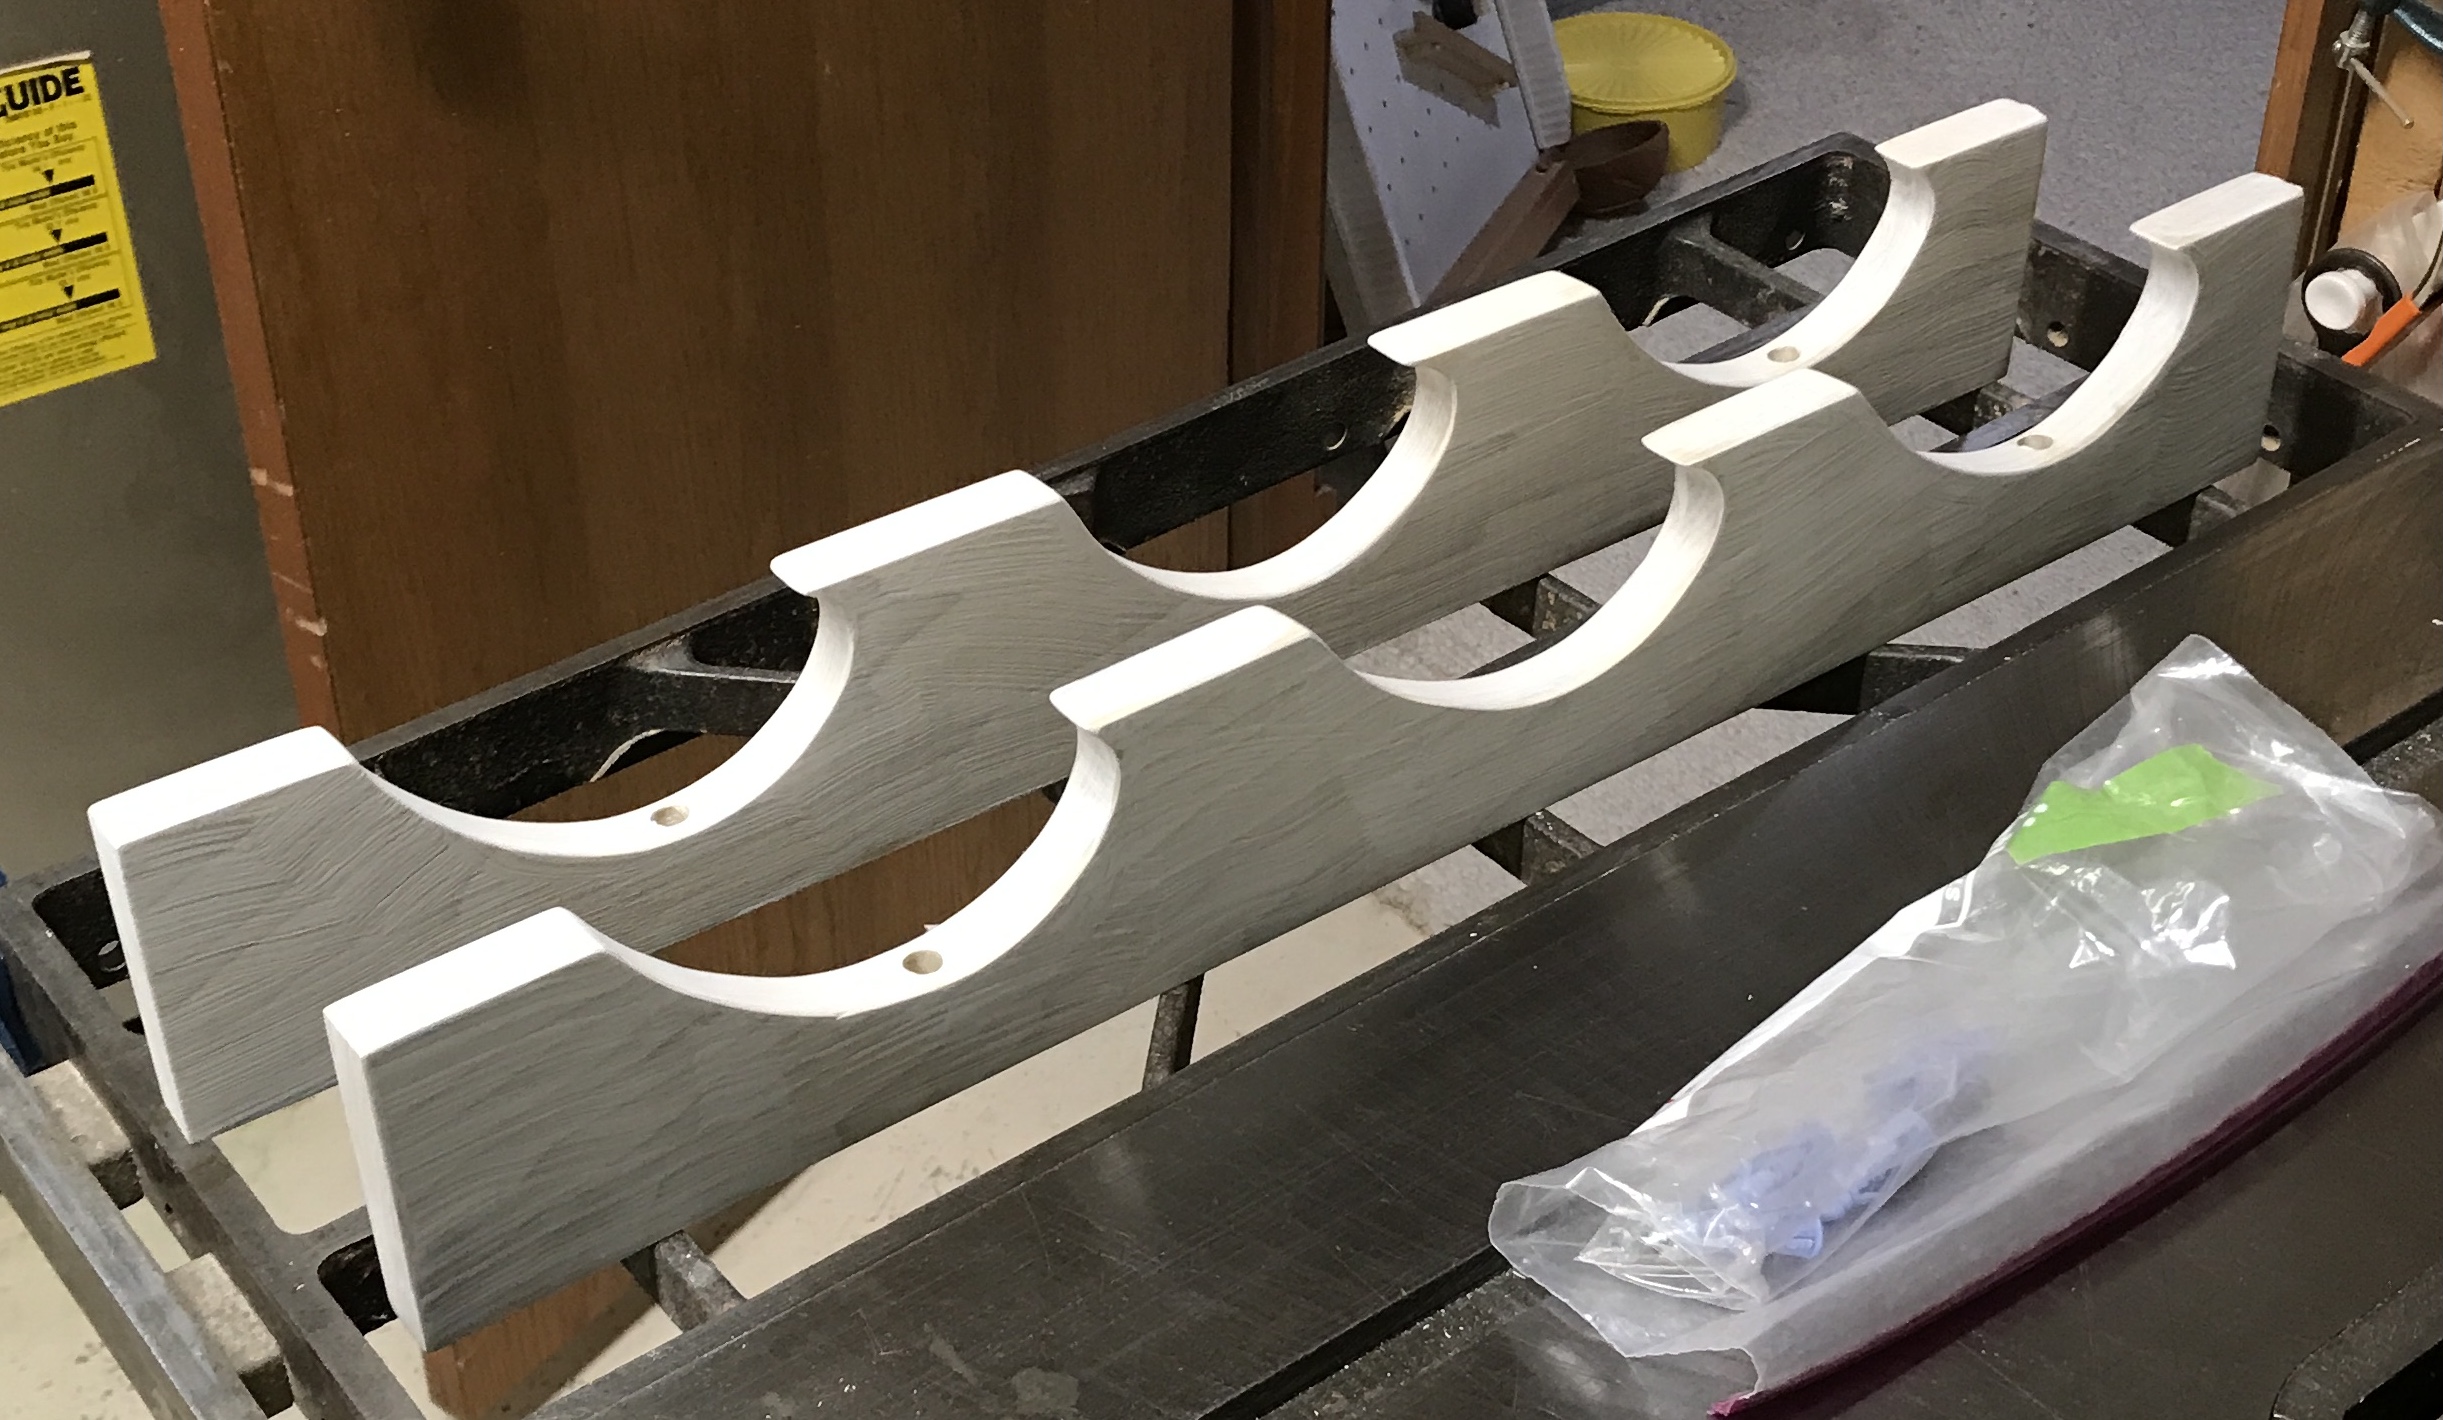
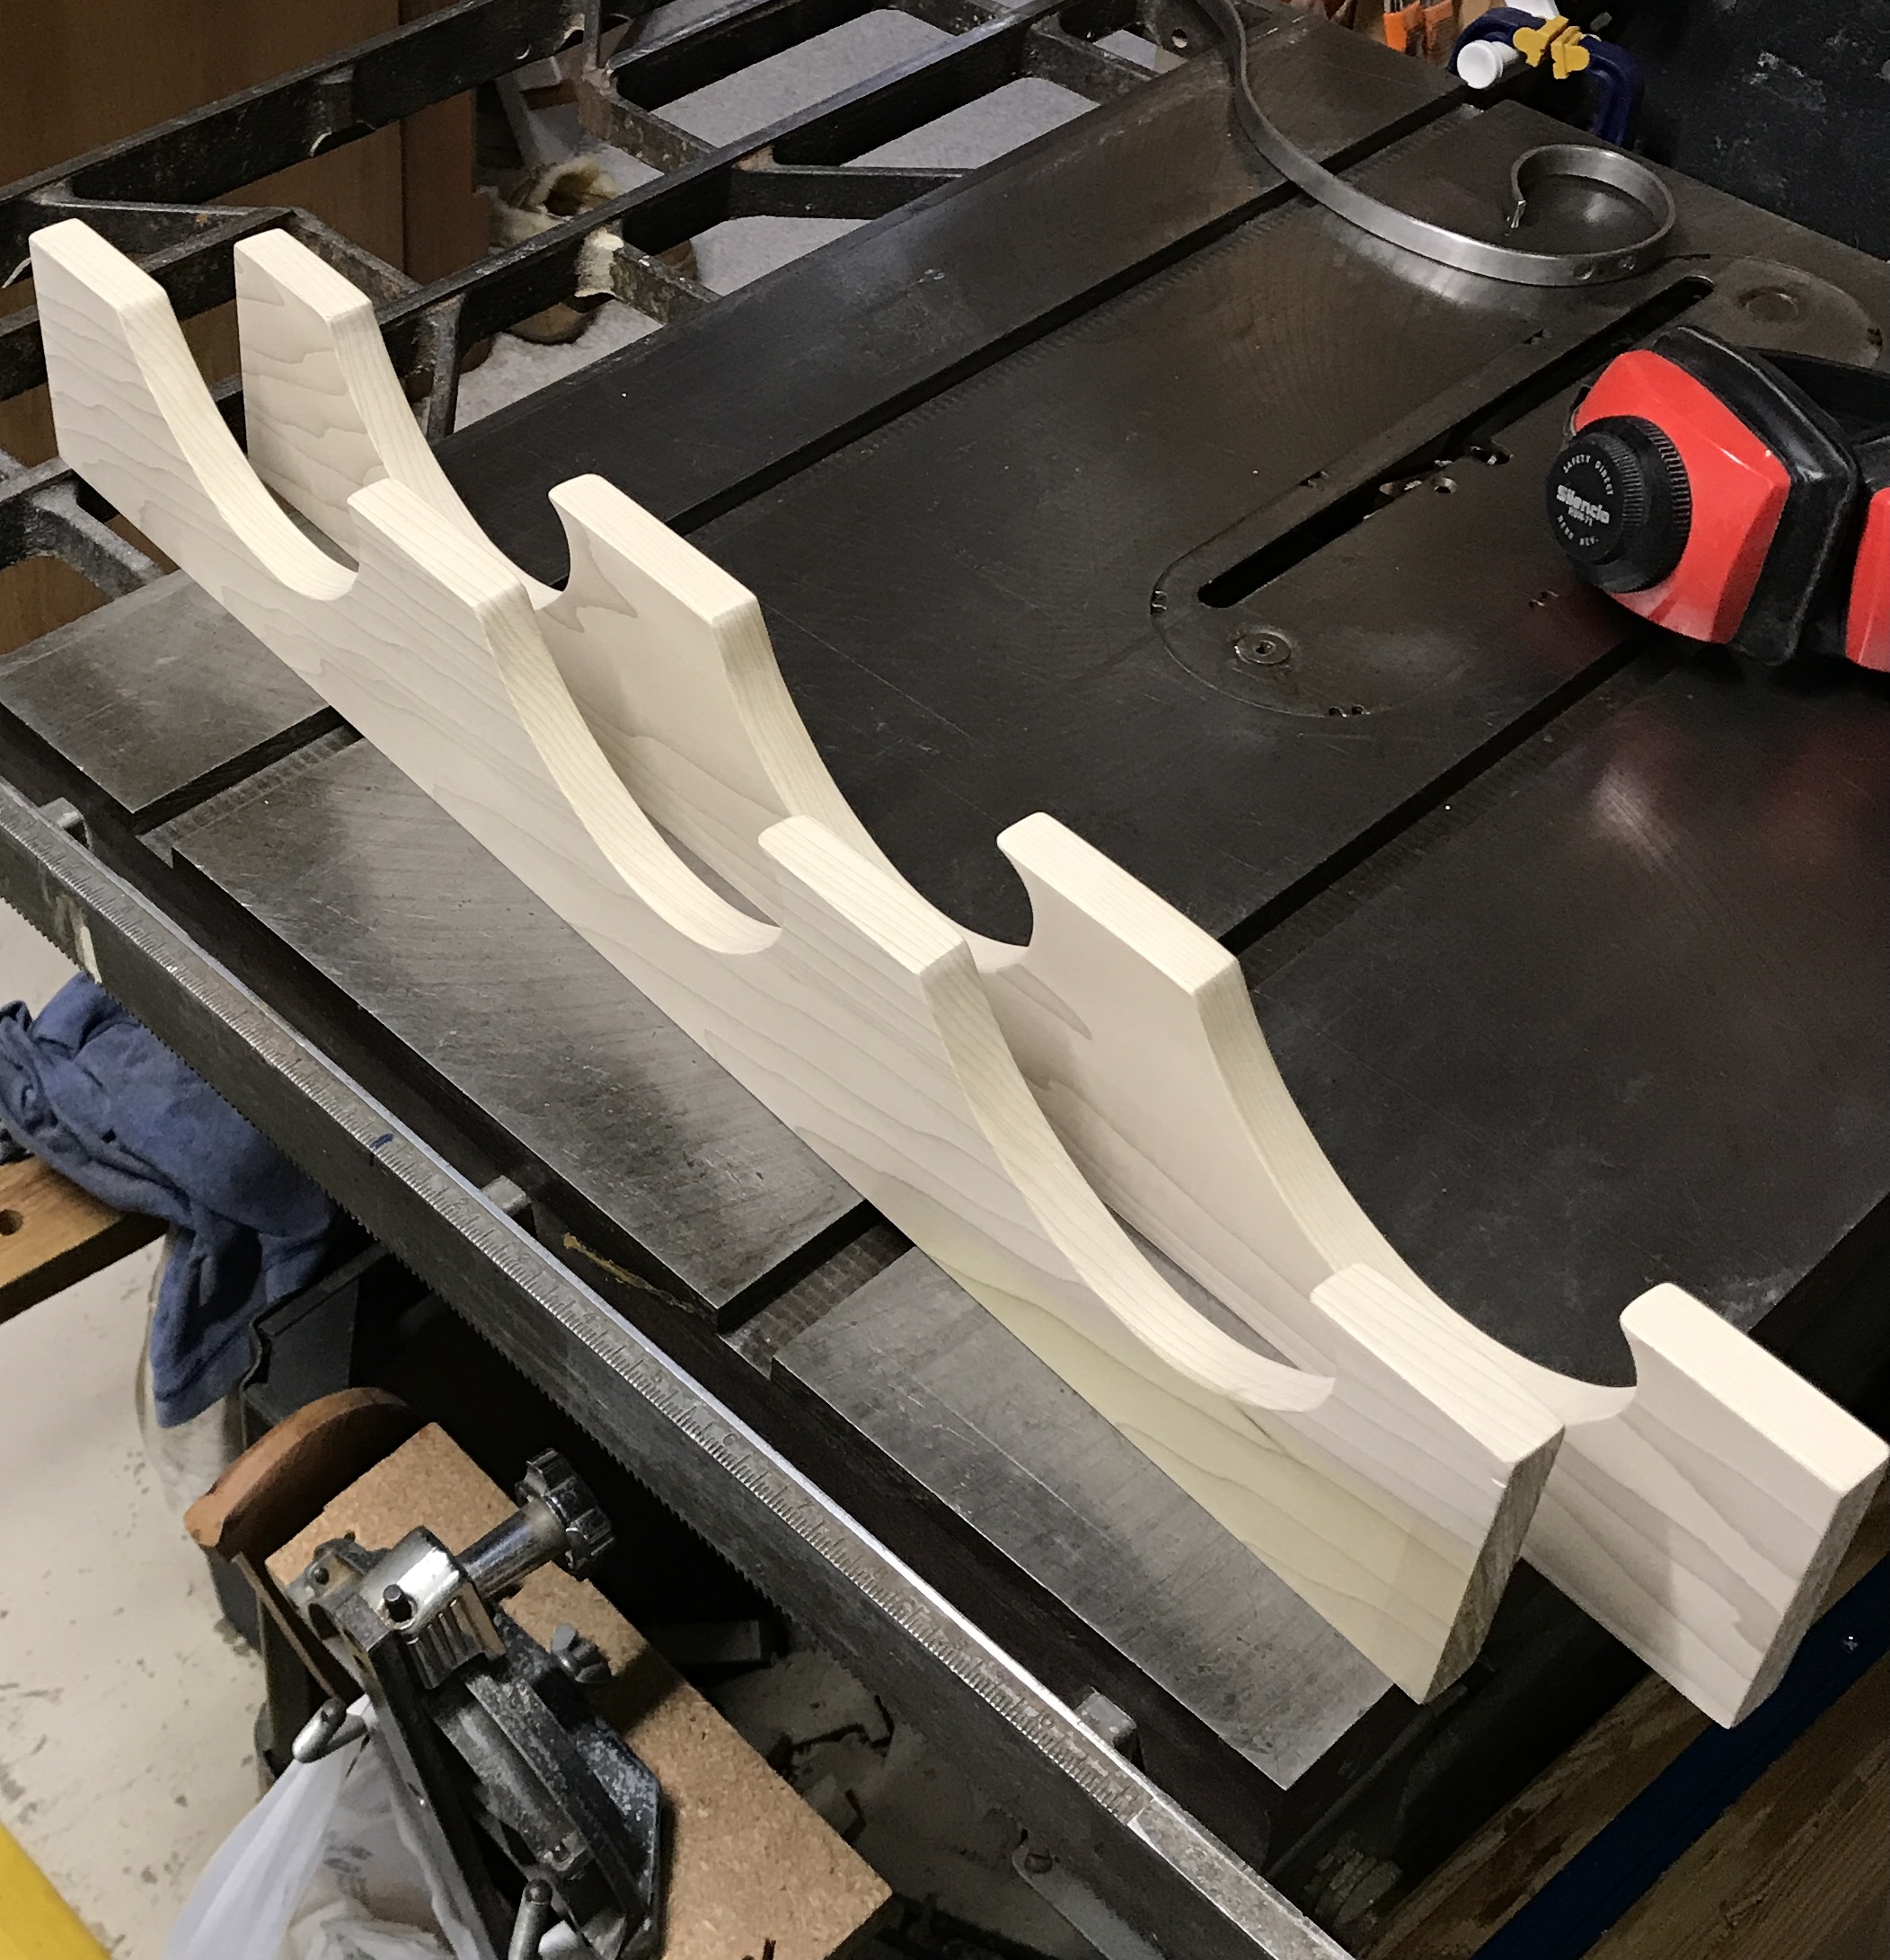
There seems to be no more Kilz primer. A quart of Zinsser Peelstop primer was discovered in the garage. It will be used instead of Kilz after it warms to room temperature. The paint was applied this morning. The photo below shows the first coat. Triple thick is too thick. There was next to no absorption: maybe the wood was too finely sanded. Inspection after 30 minutes convinced me not to apply a second coat. The primer that would be absorbed had been absorbed. Additional primer would not change the absorption and it will be painted again by David. After two hours both racks were sanded with 220 grit paper. The last photo shows the completed racks along with a bag of hardware for installation.